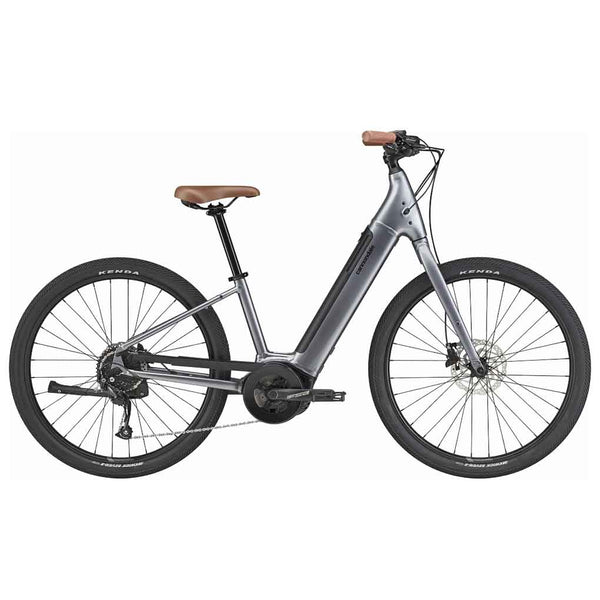
electric bike assembly
Steps to follow to assemble your ebike, once you get home.
When you buy an electric bicycle at LaBosch, you have to follow two simple steps once the box arrives at home with your ebike. We tell you about it in this blog with a video tutorial so you don't have any doubts about how to do it.
First of all, tell you that your electric bike is assembled, adjusted and checked by our mechanics , so once you receive the ebike, you only have to follow these two simple steps and you can start riding with it.
The necessary tools to finish assembling the electric bicycle are three:
- A cutter: to be able to remove the seals from the box and the protections that we put on the ebike so that it is not damaged during transport.
- An Allen key or a number 4 torque wrench: it is used to put the handlebars straight.
- A number 15 fixed wrench: to be able to place and tighten the pedals.
 Naming the necessary tools, we have already revealed what you have to do to finish assembling the electric bike. This, as you can understand, is due to space issues. In the box we cannot put the handlebars as it should because it would take up too much and the pedals, in addition to the space, since they protrude a little more than the rest of the components, can break the box and damage objects.
We are going to tell you what you must do to finish assembling the bicycle with these two simple steps. The first thing is to remove all the protections using the cutter, taking care not to scratch the bike.
-
Straight handlebar: to put the handlebar correctly, we will need to use the Allen key number 4, or, if you have a torque wrench, tighten it with this tool because you will put it to the perfect force. The handlebar is loosened and tightened with these two screws that you can see in the image. First you will have to loosen it to be able to put it straight correctly and then tighten it well, if you have the torque wrench, it has to be put at a force of between 5 or 6 Nm. If you do it with an Allen key, once you have it strong, give it two more pushes so that it is fine, but you must not press too much, as you will see in the video.

-
Place the pedals: to be able to place and tighten them, we will need the open-end wrench number 15. It is important to differentiate the right pedal from the left, it is very simple, almost 100% of the brands use this method that you can see in the photo to differentiate it. The left pedal has scratches just at the top of the thread and the right one that area is smooth. As you can see in the video, the pedal enters smoothly and you can accompany it by turning the pedal backwards. Once you reach the end, you have to finish tightening it with the 15 spanner. This really has to be strong, so you will have to apply more force than with the handlebars.

Inside the box you will also find a bag with the charger, various bike accessories, such as reflectors or lights) and the instruction book. In addition, we also add a written manual, like this one that you have below, of the steps to follow to assemble your ebike.
With these two simple steps you will have the ebike ready to go out and enjoy it.
If you have any further questions about it, do not hesitate to contact us via email, phone or WhatsApp.

